


Frequently asked questions


How do I care for my Pottery Forms Europe forms?
The forms from Pottery Forms Europe are made from high-quality wood and, with proper care, can last for many years of creative use.
Care Instructions
Do not leave the forms soaking in water. Wood is a natural material and prolonged exposure to water may cause swelling or warping.
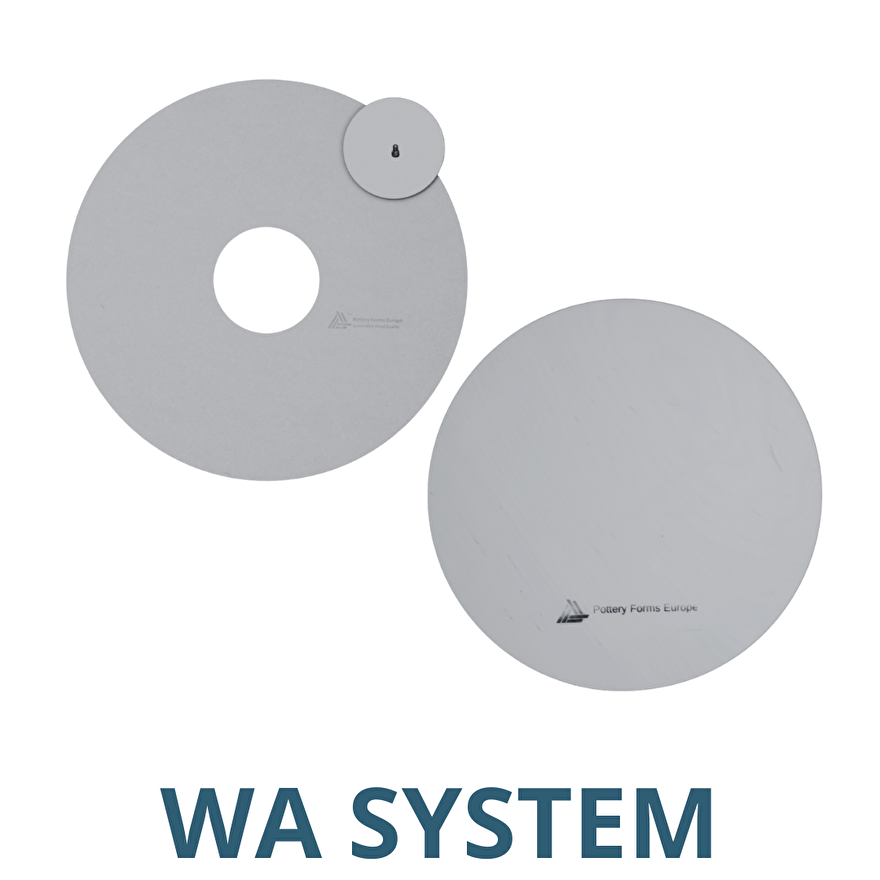
Remove the WA (Wheel Attachment) System and Wheel Board from your pottery wheel when not in use.
Clean your Pottery Forms Europe products by removing clay residue and wiping them with a damp sponge.
Never stack forms while they are still drying. Dry them vertically using a towel or protection mat to protect the sharp edges.
Once fully dry, the forms can be stacked horizontally.
Do not use metal scourers, knives, or sharp tools on the forms or WA systems, as this may damage the surface.
What are the forms from Pottery Forms Europe made of?
At Pottery Forms Europe, we are proud to manufacture our molds from safe, high-quality MDF wood that complies with both EU and USA emission standards.
Why our forms are unique
Durable and reusable for many years
Lightweight yet strong
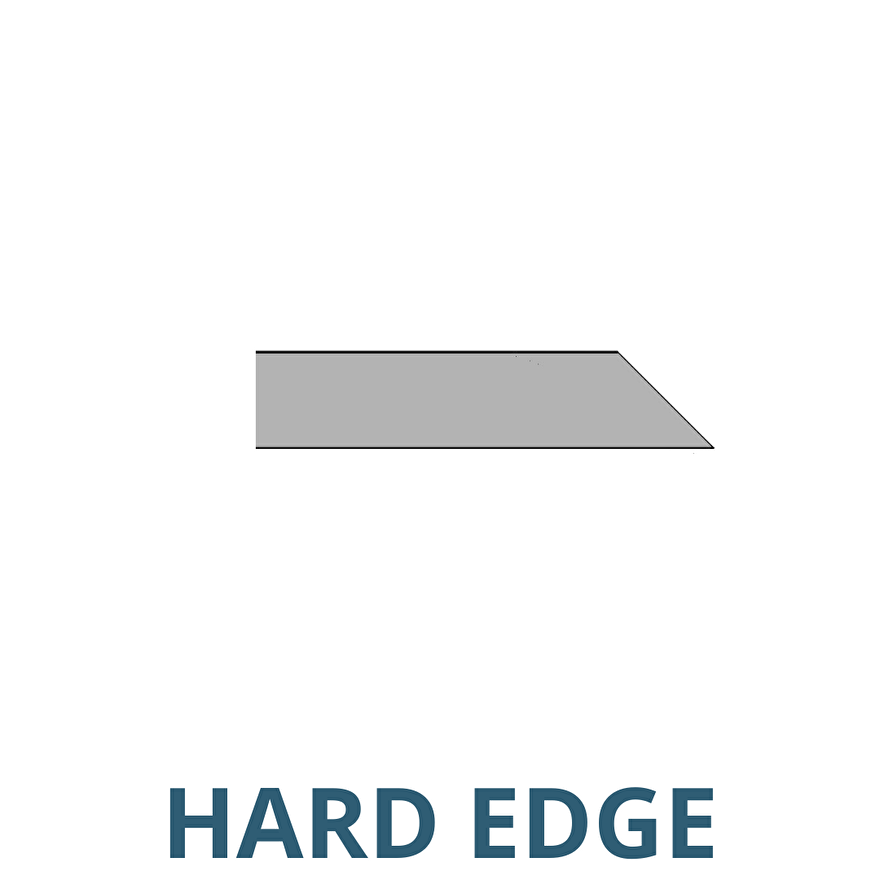
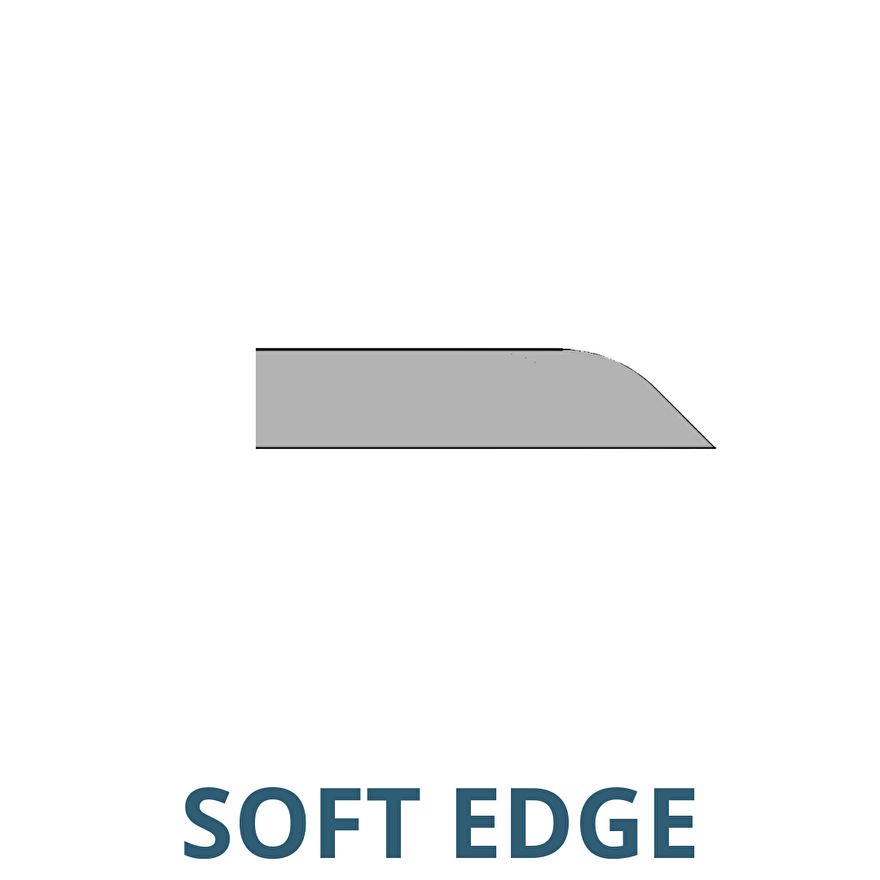
Designed with beveled edges for longevity
Suitable for creating personalized pottery pieces
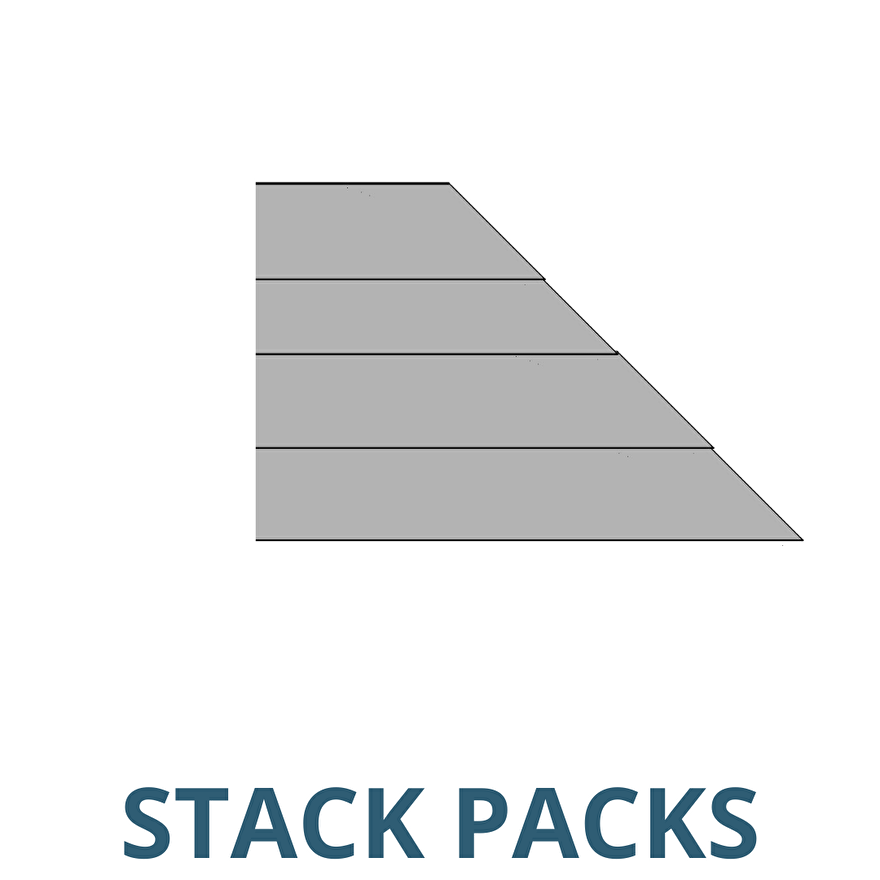
Shallow, versatile designs that can often be stacked for more creative options
Important tips
Allow forms to dry completely between uses.
Do not leave clay on the forms for too long, as excessive moisture may soften the MDF.
Mold or stains can easily be cleaned using a damp sponge with mild dish soap.
If edges become rough over time, lightly sand them smooth.
What clay should I use with Pottery Forms Europe?
Clay consists of natural clay minerals that give it flexibility and plasticity. These minerals form tiny plate-like particles that become workable when wet.
Recommended clay body
At Pottery Forms Europe, we recommend using a clay body that contains chamotte/grog for extra strength and stability.
A favorite choice is:
G & S (Goerg & Schneider) 254
White stoneware clay
Fine texture
0–0.2 mm grog
25% chamotte
Maximum firing temperature: 1280°C / Cone 9
Clay bodies used for wheel throwing are often too smooth and may not be ideal for slab building.
Why is wedging clay important?
Proper wedging is essential when working with Pottery Forms Europe slab molds.
Benefits of wedging
Removes air bubbles
Improves plasticity
Creates an even clay body
Eliminates hard lumps
Reduces the risk of warping and cracking
Popular wedging methods
Rams Head Wedging
Spiral Wedging
Wire Wedging
How do I make a non-warping slab?
Warping is one of the biggest challenges in slab pottery. At Pottery Forms Europe, we recommend the following method:
Step 1 – Use the right clay
Choose a clay body with grog/chamotte for added strength.
Step 2 – Wedge thoroughly
Proper wedging improves consistency and reduces clay memory.
Step 3 – Roll carefully
Clay particles stretch during rolling. To reduce stress:
Roll gradually in small steps
Rotate the slab between passes
Avoid stretching in one direction only
Step 4 – Let the slab rest
Place the slab on an unpainted wooden board until it reaches a plastic consistency (between wet and leather-hard).
Step 5 – Compress the slab
Use a firm rib to compress the clay in multiple directions. This aligns clay particles and greatly reduces warping.
How thick should my slab be?
The ideal slab thickness depends on:
The clay body
Firing temperature
Glaze strength
Your experience level
At Pottery Forms Europe, we generally work with slabs rolled to:
0.7 cm / 7 mm / approximately 0.27 inch
For larger work or stronger glazes, thicker slabs may provide more stability.
How to prevent warping and deformation
1. Rolling the clay
Clay has memory. Proper rolling and kneading help remove tension and improve plasticity.
2. Making the slab
Use a slab roller or rolling sticks.
Rotate the slab regularly
Use fabric underneath to help lift wet clay easily
3. Resting the slab
Place the slab on an unpainted wooden board.
Resting times vary from 20 minutes to several hours depending on humidity and clay moisture.
4. Compression
Use a rib to compress both sides of the slab in different directions.
5. Adding texture
This is the perfect moment to add texture using:
Textured rollers
Fabric
Crochet
Natural materials
6. Shaping with Pottery Forms Europe
Lay the slab face down over the form and gently press the clay into shape.
Use a soft rubber rib to compress from the outside inward.
7. Foot rings and supports
For larger plates and bowls:
Use multiple feet
Use a double foot ring for extra support for plates of 9 inch and/or larger
Score and slip thoroughly
8. Defining the edge
Use a rim template or shape the edge by hand.
9. Creating a raised rim
For a slightly elevated rim:
Remove the rim template
Place the piece on a spacer block
Gently press the rim downward
When should I remove the pottery from the mold?
The clay should be leather-hard before removal.
Leather-hard means:
A fingernail leaves a mark
Your fingertip does not leave an impression
Important
Removing the clay too early is the most common cause of warping and deformation.
If the piece bends during removal, it is too wet.
If the clay cracks, it has dried too much.
Drying recommendations from Pottery Forms Europe
For best results:
Avoid direct sunlight
Avoid heaters and fans
Never use a hair dryer
Prevent drafts
Ensure even drying on both sides
Drying time can range from:
2 hours
Up to 8 hours or more
Slow drying is always safer.
Finishing your pottery
Once removed from the form:
Smooth edges using a surform tool
Refine edges with a sponge or rounding tool
Add carving or underglaze decoration
Allow the work to dry slowly and evenly
At Pottery Forms Europe, we recommend drying pieces on open racks or in a mini greenhouse setup for balanced airflow.
Firing tips
When firing plates and bowls:
Do not place work over the edge of kiln shelves
Avoid rapid firing schedules
Allow clay enough time to release moisture
Cool large work slowly using a controlled cool-down program
Golden rule from Pottery Forms Europe
Take your time — clay rewards patience.
How are dimensions determined?
At Pottery Forms Europe, dimensions are based on the largest measurement of the form itself.
Standard depths
Standard series: 19 mm deep
Thin series: 12 mm deep
Need deeper forms?
Many forms can be stacked to increase depth.
Each stacked layer adds approximately 19 mm.
For very deep forms, we recommend using plaster molds instead of permanently gluing wooden forms together.
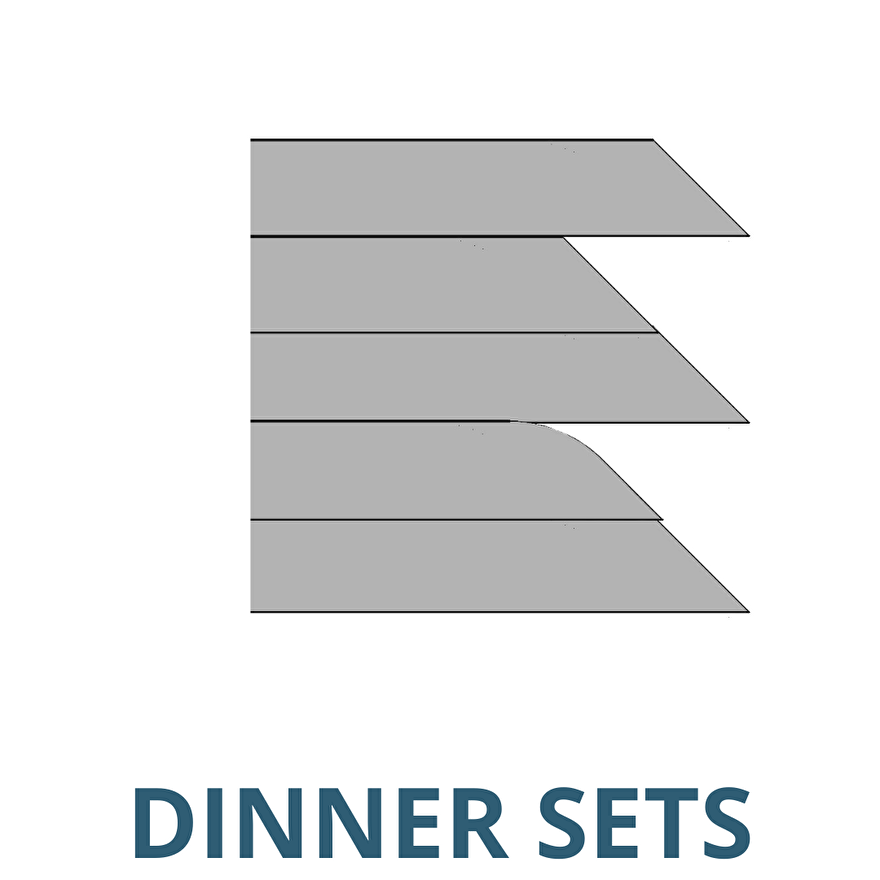
How do I avoid seams when stacking forms?
Stacking forms may create small seams between layers.
Easy solution
At the leather-hard stage:
Smooth seams using a metal rib or loop tool
Compress and refine the surface
My foot ring is cracking or coming loose. Why?
At Pottery Forms Europe, we find there are usually two causes:
1. The piece is not fully dry before bisque firing
Residual moisture creates stress during firing.
2. Different moisture levels
If the foot ring and plate contain different moisture levels, tension can cause cracking or separation.
Prevention tips
Ensure both pieces have equal moisture content
Score thoroughly
Use sufficient slip/water for attachment
Can Pottery Forms Europe ship outside Europe?
Yes — Pottery Forms Europe ships worldwide.
If your country is not listed in the webshop, simply contact us and we will assist you.
Still have questions?
If your answer is not listed here, please contact Pottery Forms Europe via email: